
Product photography is all about capturing the beauty and detail of a product. This is done primarily by highlighting all the incredible features that set each item apart from others.
As consumers, the goal is the same. Whether you’re looking at something like a necklace in your favourite jewellery store or are searching online for a new smartphone, its this beauty of detail that draws you in and a purchasing decision
When we shop online, it’s quite likely we’re just looking into a tiny window of colour on our screen – mouse over to see that the true beauty lies behind closed doors.
What goes into a product photo?
Below are key points to remember when taking your product shots.
Lighting
Getting the right type and direction of light is crucial for product photography. You want to see the product clearly, but not so bright that there are air-brushed shadows and highlights. Lighting is important because it shines a light on the beauty and potential of your product and your brand, which ties into your online visibility.
You want to place the camera at eye level or slightly below with lighting. This is done so that your viewer can see the product from a full 360-degree view. If you’re using a tripod, make sure it’s placed at a low angle and not tilted up or down. The idea is that the eye is directly looking at the product and not at an unconvincing angle looking down on it.
It’s important to remember that it’s often best to use natural light when you’re taking product photos. This is because it creates consistency and allows you to avoid unnecessary editing.
When using natural light, you’ll want to take advantage of certain times of the day. The best time for taking product photos is late afternoon because the sun is going down and the shadows are lengthening.
Again, keep in mind the time of day you’re taking your photos.
Composition
This is all about making your product stand out. A photo needs to have a good balance, so you’ll want to take steps to make sure your product stands out from the background of the picture. One of the first things you’ll want to consider is where your product will sit in the background.
A good composition focuses on a single focal point, which allows the viewers’ eyes to focus on one specific part of your product while also creating use and appeal. You want your viewer’s eyes to be drawn straight to your product right away.
To ensure you’re getting the best product photography possible, you should think about your target audience and pick a composition that will appeal to them.
If you’re selling a product with many details, consider attractively framing some of them. For example, you can take a picture of the front or back of your shirt with the front or back facing out, respectively.
Another way to showcase highlights and details is through close-ups.
Focus
Getting the product in focus is essential for the viewer. The goal is to create a clear image with high quality and detail. Think of focus as detail in terms of your product’s appearance. Looking at photos where the focus is blurred makes for an interesting image, especially if you’re looking for one with depth.
Take a look at many objects in your photo and think about each one individually. Where is it focused? If you’re capturing a product, you want to ensure that the focus is specific. This allows viewers to see the beauty of your product without first seeing its blur.
You can also use blur to create an intriguing effect for your product’s photo by taking shots from low angles and zooming out, which will give viewers the feeling of a close up view.
Colour
Colour is essential in photography, and product photography is no different. You must ensure that everything looks as vibrant and beautiful as possible, which will then help you sell your product.
This can be done by framing the pieces with contrasting colours or using a white background.
To ensure that your product photo looks its best, use filters. You can use several filters on your phone or camera to adjust the colouring, balance, and exposure. It is good to experiment with different filters and see which works best for you and your product.
Background
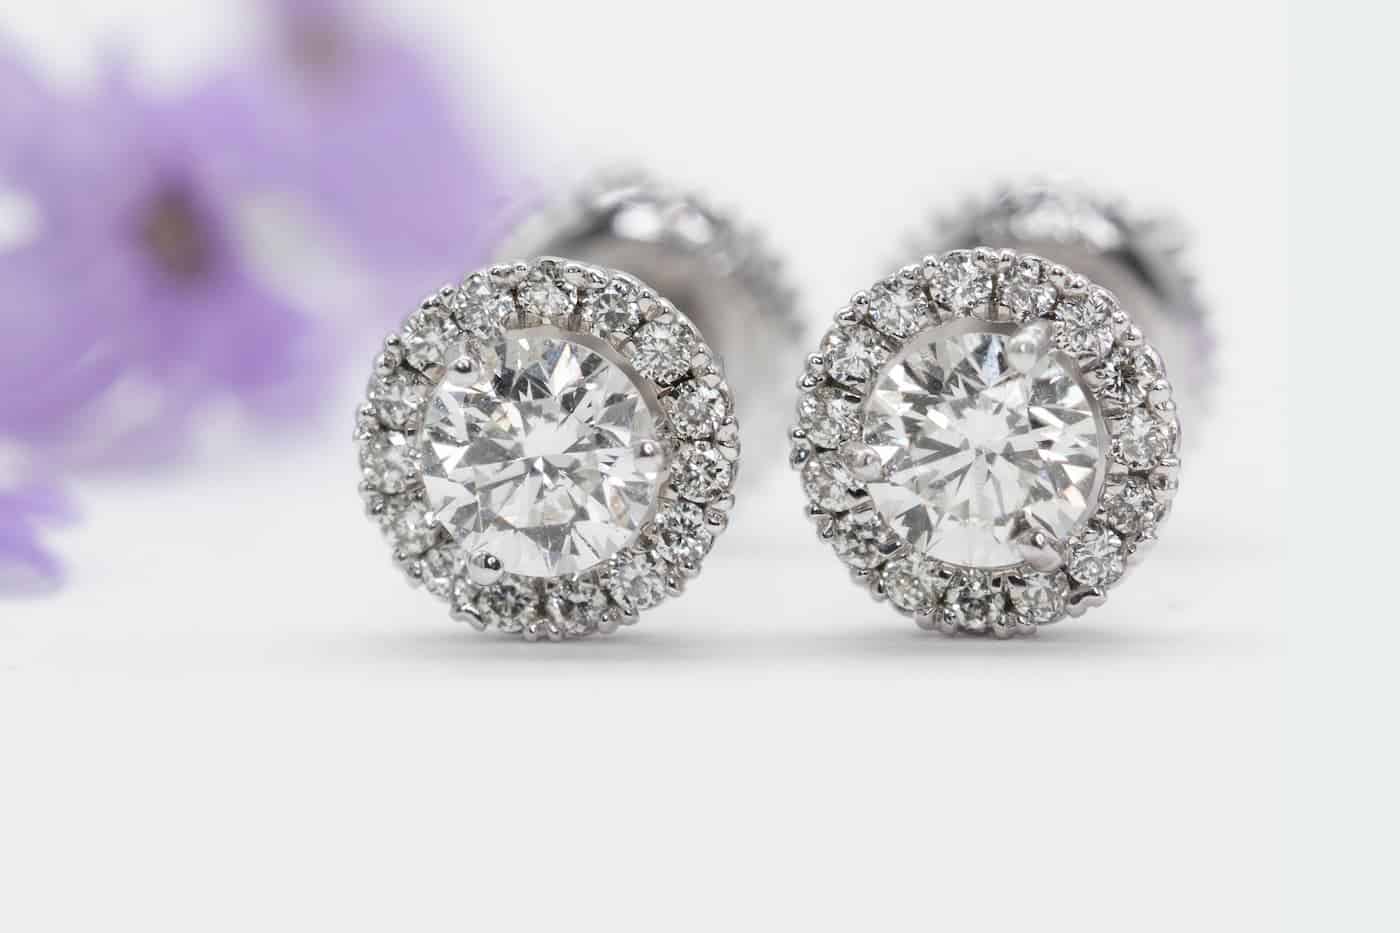
When taking photos of jewellery and clothing, you’ll want to ensure that your items look their best by using contrasting colours in the background. This can be done by framing the pieces with contrasting colours or using a white background.
White, in general, is an excellent colour to use when it comes to your photo’s background. It’s bright and clean, making it an appealing choice for photos of jewellery, clothing, and other small products.
Where possible, try to avoid using black as your product’s background; it makes highlights stand out and will cause your product’s actual colour to go unnoticed.
If you would like to use a black background, try to do it in moderation. This is because it tends to draw attention away from your product and might not be the best choice for your product.
Related Articles
- Product Photography 101
- Why Your Business Needs Professional Product Photography
- Why Use a Photography Studio
- Five London Studios for Product Shoots
- Year in Focus Comparing Brand Photography Styles