
Whether you’re a seasoned professional photographer or just beginning to explore photography as a hobby, having a well-organised production checklist can make all the difference to your photo shoot. It ensures that your process is smooth and efficient, allows you to focus on creativity, and ultimately helps you deliver the best possible results. At The Location Guys, we’ve seen firsthand how proper planning elevates a shoot, and we’ve created this brief guide to ensure you’re prepared for every aspect of your project.
Photo Shoot Checklist
Using a checklist for your photoshoot simplifies your workflow and helps you stay organised. It allows you to manage your session flow more efficiently, improves consistency, and speeds up shooting and post-production processes. When you have a structured list, it’s easier to keep track of tasks, ensuring nothing is missed, and it keeps your focus on the creative elements rather than the logistics.
Here’s how to break it down and ensure every aspect of your shoot is covered.
-
Conceptualising Your Shoot
Before any technical preparations begin, you must have a clear concept. What story are you trying to tell through your images? Consider the style, mood, and overall aesthetic you want to achieve. One great way to solidify your vision is by creating a mood board. This can include everything from magazine cut-outs to digital images that inspire you, capturing the essence of what you aim to achieve.
A physical bulletin board allows you to swap out concepts and re-arrange inspiration easily, but digital platforms like Pinterest are equally effective. A strong concept ensures that everyone involved in the shoot—whether a model, client, or creative team- understands the direction and goals.
-
Self-Preparation and Team Well-being
Being physically and mentally prepared for the shoot day is crucial. Ensure you’ve had a good night’s sleep, are well-hydrated, and have eaten a balanced meal before the shoot. While this might sound basic, it can significantly affect your daily focus and energy.
Remember, your team’s well-being is just as important. Provide healthy snacks like fruit and vegetables and plenty of bottled water. Straws are a handy addition, especially for models, as they allow hydration without ruining makeup. Little touches like these show professionalism and keep everyone comfortable, making the shoot smoother.
-
Equipment Preparation
Your camera gear is the heart of the operation. Double-check your camera, lenses, and all accessories in advance. Charge your batteries, pack spares, and ensure you have plenty of memory cards available.
If you’re shooting on location, pack light stands, reflectors, and other necessary lighting equipment. Don’t forget your light meter, especially if you’ll be shooting in varying natural light conditions. Testing and preparing your gear before the shoot saves you valuable time, ensuring that your focus remains on capturing stunning shots rather than solving technical issues.
-
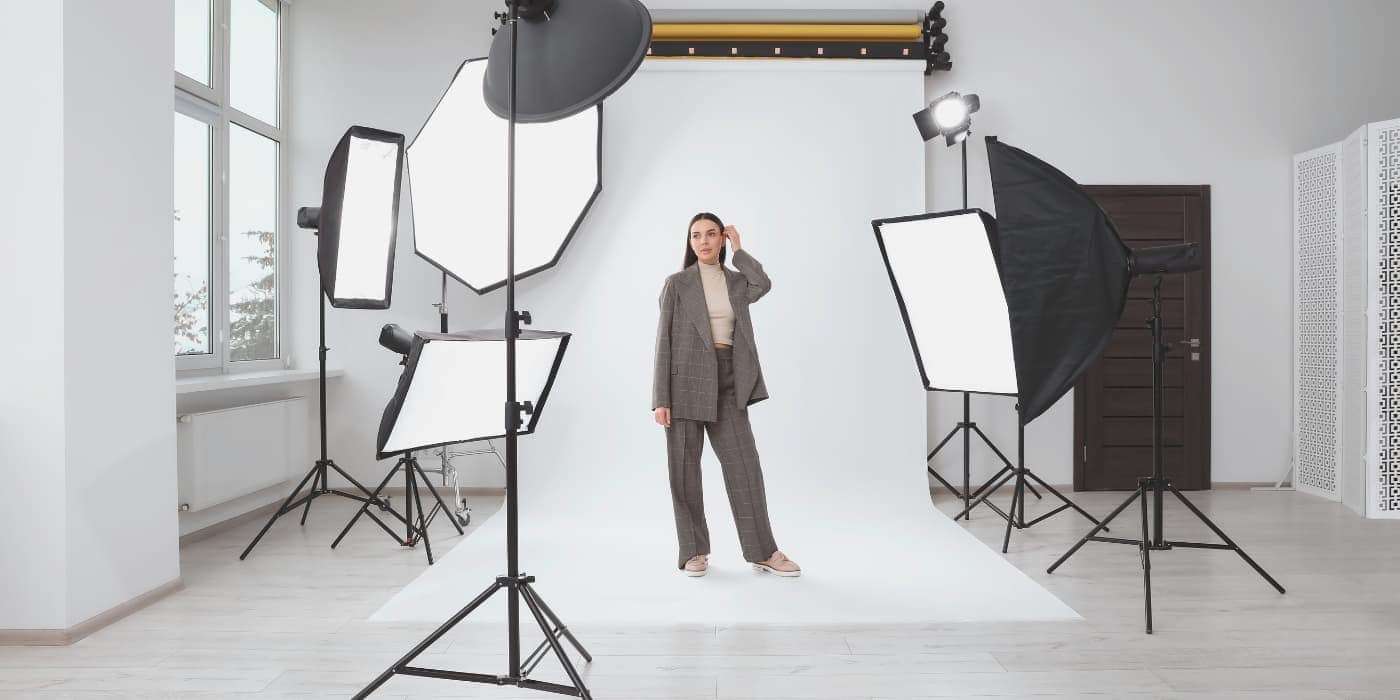
Lighting Setup and Background Considerations
Lighting is everything, whether shooting in a studio or on location. In a studio setting, set up your lights in advance and test them using a stand-in before the model or subject arrives. Natural light is your primary source for location shoots, but remember that the sun’s position and intensity can change throughout the day. Be prepared with reflectors or additional lighting, and adjust your settings to accommodate these changes.
Pay close attention to your background as well. In studio settings, check that the backdrop aligns with the concept of your shoot—whether it’s a stark white backdrop for high-fashion shots or a more textured option for editorial content. If you’re working on location, be mindful of how the environment interacts with your subject. Consider shadows, natural textures, and other elements that may enhance or detract from your images.
-
Engaging with Your Subject
If you photograph people, your connection with the subject is critical to the shoot’s success. Take the time to introduce yourself properly and explain your vision for the session. Whether you’re shooting professional models or families, creating a relaxed atmosphere will put your subjects at ease, leading to more natural and compelling images.
For younger subjects, such as children in family photoshoots, having toys or distractions on hand can be helpful. This keeps them occupied while you communicate with their parents and shows your preparedness and professionalism.
-
Model Positioning and Composition
Getting the right pose or composition can make or break your final shot. Start by positioning your model or product according to your initial vision. Use markings on the floor if necessary to guide your model, but avoid making the scene feel too rigid. Allow some movement within defined boundaries so the models can express themselves more freely.
If you’re working with products, ensure that stands or props are positioned to highlight their best features. Lighting gels and other enhancements can help cast the perfect glow, so be sure to experiment during your test shots.
-
Testing Camera Settings and Lighting
Before the shoot begins, take a few test shots to ensure optimal camera settings. Whether you’re adjusting the f-stop, ISO, or white balance, these tests help you catch potential issues early. Lighting may need fine-tuning, especially if the model’s skin tone, hair colour, or clothing reacts differently to the lighting than you had anticipated.
Consider tethering your camera to a computer or tablet for immediate feedback. This allows both you and the model to see the images as they’re captured, making it easier to make any necessary adjustments on the spot.
-
It’s Time to Shoot
Once everything is set, it’s time to start capturing your images. After the first few shots, pause and review the results. This initial review will help you identify any necessary tweaks, such as altering the model’s pose or adjusting lighting levels.
Provide constructive feedback and highlight what’s working well to keep the atmosphere positive. Communication with your team and model is key throughout the shoot. Encourage your model and crew and maintain a collaborative environment to keep the energy high and creativity flowing.
-
Post-Shoot Wrap-Up
Once you’ve captured the desired shots, it’s time to wrap things up. Carefully pack away your equipment, ensuring nothing is left behind on location. A quick review of the captured images can provide peace of mind that you’ve got what you need, but avoid rushing this final check.
After the shoot, back up your images immediately. This is a non-negotiable step to avoid any potential data loss. You can move into the editing phase from here, bringing your images to life with post-production retouching and final tweaks.
The Location Guys
At The Location Guys, we understand that every photoshoot is unique, and we’re here to help you find the perfect setting for your project. Whether you need a modern, design-led home for a commercial campaign or a striking industrial backdrop for a fashion editorial, we connect brands with inspiring locations throughout London and the UK.
Discover our range of photography and filming locations to inspire your next photoshoot. Let us help you make your next project a success.
Related Articles
- How To Find a Shoot Location
- Furniture Photography an Introduction
- Location Houses: The Secret Weapon to Stunning Photography and Filming
- Advertising and The Importance Of Images
- Pros and Cons of Using a Photography Studio for Product Shots